In part one, I taught basic skills and simple recipes. These next recipes are a bit more complex, but people tend to be more impressed with them than is proportionate to their difficulty.
PARTY SAVORS
Cheese is a triumph of civilization, and nothing says that like mashing cheese together with even more cheese. I am of course speaking of the cheeseball. Let’s get down to ingredients:
-1 block cream cheese
-An approximately equal volume of grated cheese
-Garlic Powder
-Onion Powder
-1 tsp Hickory Smoke Sauce
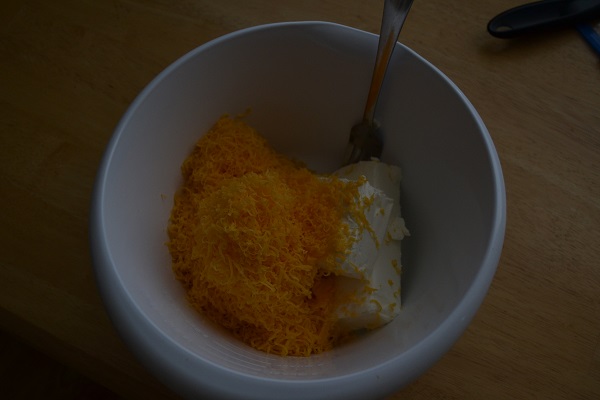
Note how exact these measurements are. Depending on how fine your cheese grater grates, you may need more or less volume of grated cheese. For the demonstration dish, I have used two blocks of cream cheese, because they may or may not be past their expiration date, and I wanted to use them up before they got moldy. And let me tell you, if you have opened cream cheese lying around, it will get moldy. At any rate, my blocks were sealed, and I have yet to die of food poisoning at the time of writing this. Note as well that the mound of grated cheese is larger than the two blocks, because I used a smaller gage grater. (Finely grated cheese mixes easier; I recommend it.)
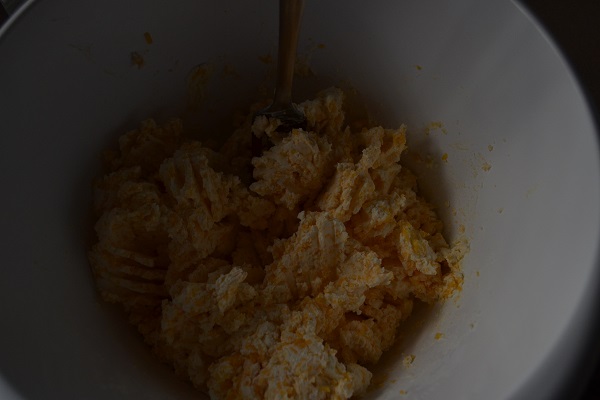
 Mixed together, it looks like this:
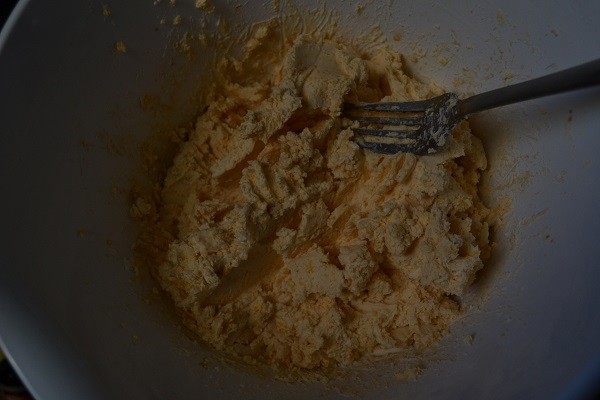
Then come the spices. I have never used any measuring device; you have to eyeball it. Generally, you use enough of the powder to very thinly coat the exposed surface of the cheese. When in doubt, err on the side of less; these are powerful flavors we are dealing with. Similarly, while I recommend about one teaspoon of smoke sauce per block, you should add more or less to suit your preferences.
Mix it all together and you have a very aromatic hunk of soft cheese. When storing it in the refrigerator, be sure to put a layer of plastic wrap over it, so that the flavors won’t mix with other foods, and so that you don’t get a dried out layer of cheese.
SOUL FOOD – YOU CAN DO IT
I hate preparing chicken breast. It’s cold, it’s slimy, and even when you boil it, you get the feeling you are trampling the laws of nature. The logical next step is to actually trample the laws of nature, and make chicken pot pie with canned chicken. This particular recipe can be made entirely out of canned goods, but I like my biscuit dough to be homemade.
Chicken Pot Pie Filling
-1 can cream of chicken soup
-1 can evaporated milk
-1 can peas
-1 can carrots (ew, but if you like them, they are traditional)
-1 can chicken breast (13 oz. I don’t know how much is in your cans, but this is the can I used)
First, preheat your oven to 425 degrees. Then get your 9X12 or 9X13 pan. The chicken soup and the evaporated milk can go straight in, but the other cans should be drained of their alchemical fluids before joining the party. It generally helps if you open the can 95% of the way and leave the lid hanging by a tiny bit of metal. That way, you can hold it in place while pouring to keep the chunky stuff in and the crazy water out. At any rate, mix it all together and get ready for biscuits.
Move Over, Pillsbury. There’s a New Dough in Town
For this particular dish, I like to have more biscuit dough than the dish technically calls for. This means a bigger biscuit crust on top, and as a starch addict, that is my goal. If that is not your goal, then the measurements on the left are the ones to follow.
-2/3 c milk 1 c
-1/2 tsp salt 3/4 tsp
-2 Tbs vegetable oil 2 Tb
-2 tsp baking powder 3 tsp
-2 c flour 3c
Mix the dry ingredients first in a large bowl, then add the oil and milk on top. Mix that around, and eventually you will get your dough. Returning to your pan full of filling, take golf ball sized chunks of dough and flatten them in your hands. Try for a little thinner than your pinkie. Set the dough disks on top of the filling, and try not to leave too many gaps.
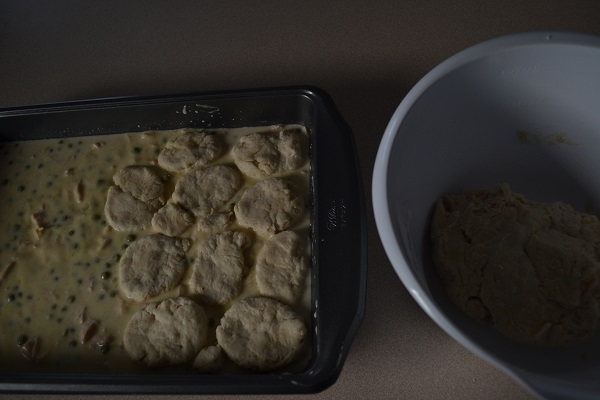
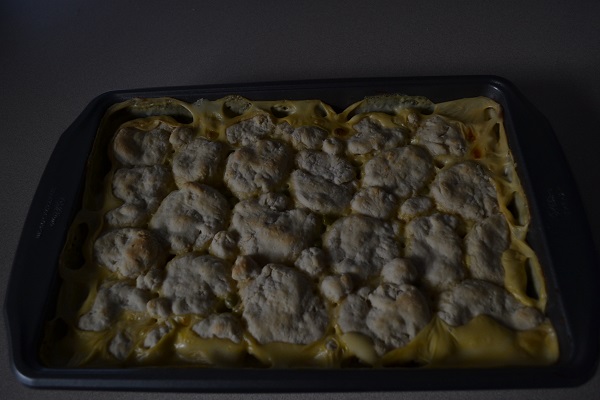
If you have extra dough after cobbling your pie, put little balls in the bigger spaces between biscuit cobbledoughs. Once you run out of dough, and/or eat the extra, put the pan in the oven for about 15-20 min. You’ll know when it’s ready to leave the nest, because you can trust it to make good decisions. Either that, or the biscuits will start to get light brown on the surface. It can be safely rationed among eight people, unless some of them are missionaries and/or teenagers. Consider preparing a side dish in such emergencies.
A COMPLETELY DIFFERENT PIE
If ever there was a unit of social currency among college students, it would be pizza. I am going to teach you how to counterfeit that currency, and like all intelligent counterfeiters, you will be producing the approximate value of a twenty dollar bill.
Rolling in the Dough
You have a bit of a choice here. You can go get some premade pizza crust and have an average pizza. Or you can get yourself a breadmaker, preferably the kind that can make a two pound loaf.
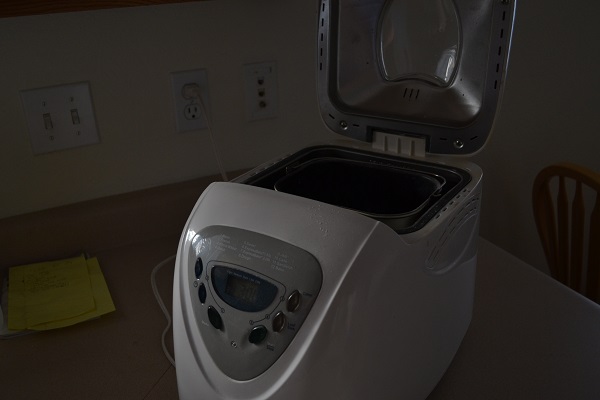
Gaze upon the face of beauty.
It should come with a book full of recipes for homemade bread. Homemade bread is the best, this is a fact. Aside from that, the breadmaker is also the crucible in which truly great dough is formed. The recipe I use is actually a dinner roll recipe, but it works really well as pizza crust.
-1 and 1/3 c warm water
-3 Tbs vegetable oil
-1 tsp salt
-2 Tbs sugar
-4 to 6 c flour
-2 and 1/2 tsp yeast
Put the ingredients in the breadmaker’s bowl thingy in the order listed. How much flour you put in is up to you. As I have previously mentioned, I am a starch addict, so I tend to use five cups of flour. The more flour you add, the more dough you’ll end up with. There are limits in both adding more and not adding as much, but it is much easier to add flour than it is to add enough fluid (probably water) to get the right balance between cohesion and being too sticky. At any rate, on the dough setting, it will be an hour and a half before it’s ready, giving you plenty of time to prepare everything else.
We Were Hidden but Then He Sauce
Pizza sauce is pretty simple, and it is the best place to do something about the overall flavor of the pizza.
-1 can tomato paste
-Add one can’s worth of water
-2 Tbs Italian Seasoning
-1 tsp black pepper
-1/2 tsp garlic powder
-1/2 tsp onion powder
-Ground red pepper to taste
Mix all this in a small sauce pan, and heat it up for a bit. You want it hot enough to bubble, but not splatter. Really, the heat doesn’t do much, but it probably helps the spices permeate the sauce. It doesn’t even have to be hot when you put it on the pizza.
You should also get out the other toppings, which is about a cup and a half of grated cheese and about twenty-five pepperoni slices per pizza. The cheese can be nearly anything, but mozzarella is a classic. I used cheddar, because it was on hand.
Crossing the Assembly Line
First things first, set the oven to 400 degrees. Then spray two pizza pans with cooking spray. This could be enough, but it helps to sprinkle corn meal on the pans as well. It doesn’t have to be particularly thick or even, just make sure you get a decent amount in the center of the pan and tap the side to jolt the corn meal into a more even spread.
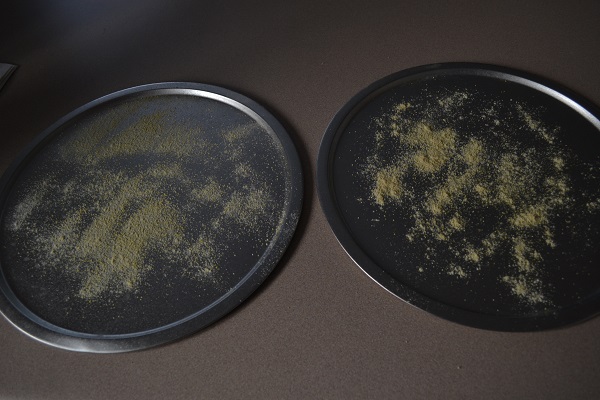
The pan on the left has been tapped, while the one on the right has not.
Once the breadmaker is done making the dough, pull it out and split into two chunks of equal size. Set each one in the center of a pan. From there, press down and outward with your fingers from the center of the dough blobs. This pushes the corn meal around, ensuring a more or less even spread.
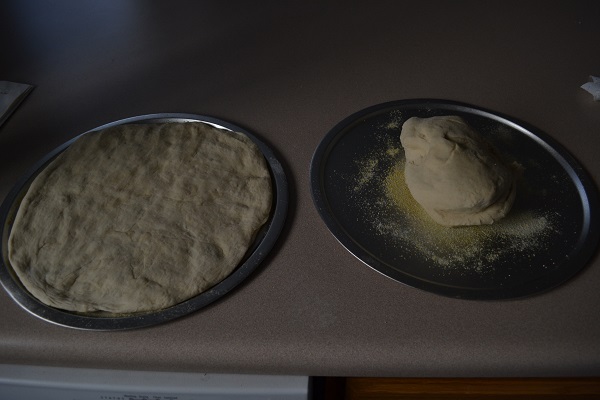
What it should look like. Keep in mind, I like a thick crust, so I use a bit more dough than usual.
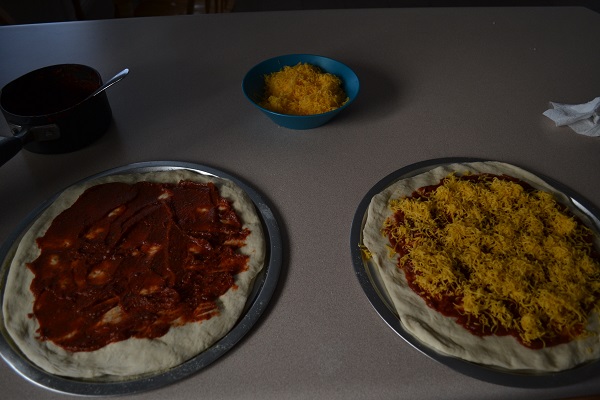
Then add the sauce and a good portion of the cheese. It’s okay if you can still see some dough in the sauced portions, and sauce through the cheesed portions.
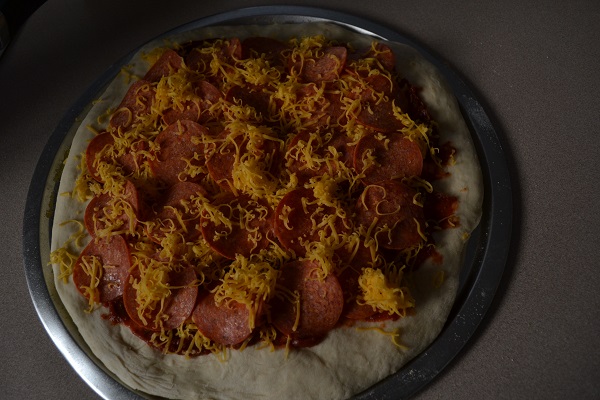
 Add the pepperoni in a five by five grid, and then put the rest of the cheese on top of the pepperoni. I am not really sure what that does; maybe it reminds the pepperoni that it needs to be a team player and not fall off at the first hint of movement. “I’m here for you.” The cheese says. “You don’t have to do this alone.”
Such a heartwarming scene.
Gently set the whole thing in the fires of affliction, or maybe the oven, and cook for about 15 minutes, or until the cheese starts to brown.
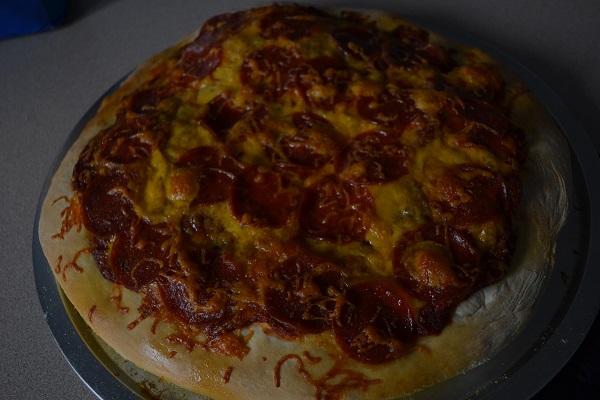 Let it cool a bit on the pan, then shift it to a cooling rack. Once it has gotten over its temperature tantrum, move it to a cutting board and cut and serve. Then lord it over all the people who buy from all those pizza chains. Whip out your worst Australian accent. “You call that a thick crust? This is a thick crust.”

Thumb included for scale
A strange side effect off all this homemade food is that you feel oddly accomplished and a little more mature than before. “Hot pockets? No, I’ll just warm up the leftovers of the pizza I made WITH THESE TWO HANDS and some machines I guess.” Your microwave will respect you more too.
Brandon is originally from Olmsted Falls, Ohio. He has studied both at Baldwin Wallace college and Brigham Young University, and is currently pursuing Chemical Engineering, among other things. He considers himself a jack of all trades, and a master of none. In his spare time, Brandon enjoys knitting, guitar, reading, origami, writing, and photography.