For a quite some time, I had been convinced that certain foods take too much preparation to want to make on my own. Bagels? Boiling and baking and probably some voodoo. Hamburgers? Grills, lighter fluid, coal, and an offering at a shine of Hephaestus. Clearly impossible. Then, like a fool, I looked up some recipes on Google and the mystique is gone. I have seen behind the curtain, and now I know that there is no place like home, because my apartment smells like cooked beef.
LET US BAGEL
In the bread maker:
- 1 cup warm water
- 1 and 1/2 tsp salt
- 2 Tbs sugar
- 3 cups flour
- 2 and ¼ tsp yeast
In the big pot:
- 3 quarts boiling water
- 3 Tbs sugar
In a small bowl:
- 1 egg white
Set your bread maker for dough and put the stuff in. You now have about an hour and a half to do nothing, maybe stare into your fridge in search of the meaning of life and what are you going to eat, I had that recently, why do I buy what I always buy. For fun, you might skip down to the hamburger section, and start those things going.
Similarly, the water in the big pot will take a while to boil, so start that maybe thirty minutes after you start your bread maker a’makin’. Now is also a good time to practice a culinary art you might use from time to time, the sifting of the wheat from-no, the separating of the white from the yolk.
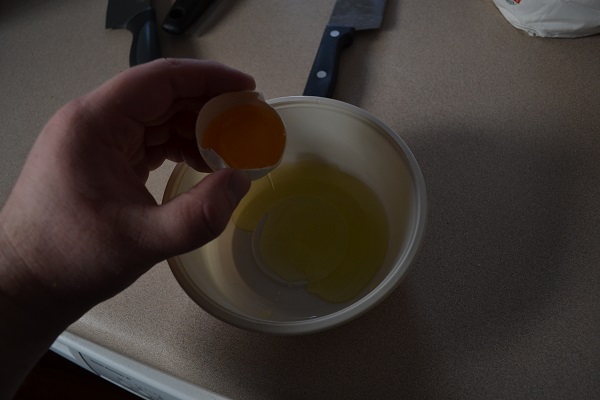
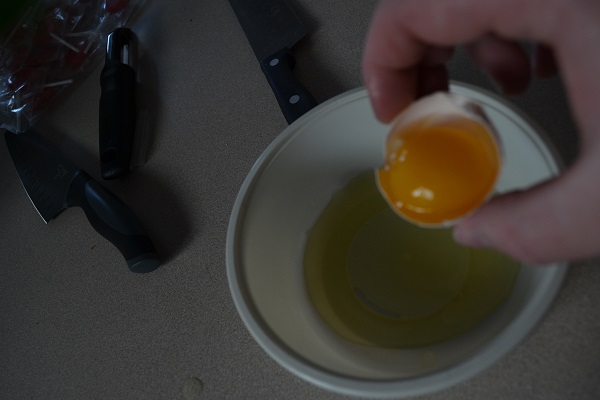
Once you crack the egg, use the edge of one piece to cut the membrane holding the egg white to the yolk, then pour the yolk into that bit of shell. The rest of the egg white should slough into the bowl with that bit of persuasion, although you can pass the yolk back and forth until you are satisfied. You may want to save the yolk, it is objectively the best part of the egg, no questions.
Did the bread maker ding? No? Okay, well, you still have time to lightly flour a surface like a cutting board. You might want to start the oven at 375, it will take a bit to get there. Once the dough has risen to your challenge, put it on that floured surface and let it rest a bit. How long? I don’t know. Try cooking a hamburger patty or two. Then come back and cut the dough into rough ninths.
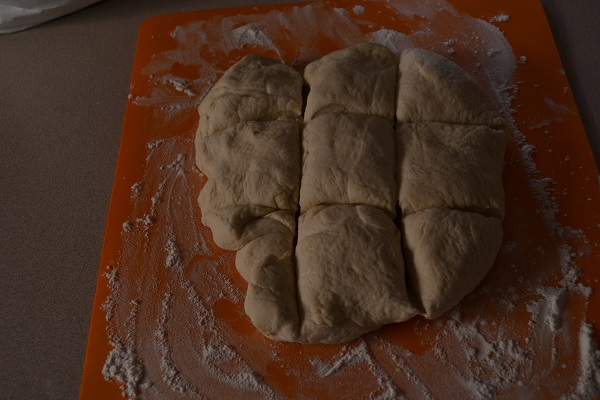
You may need to pinch off some dough form the big pieces to add to the runts in the corners. Now, dig your thumb into the middle of each of the nine pieces of eight, drink up me hearties yoho. I tend not to want the hole to be too big, maybe just wide enough for both of your thumbs to fit.
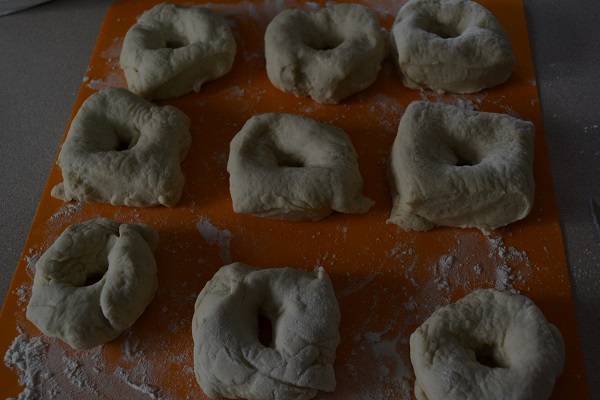
Also, square bagels have more bagel than circle bagels, not to mention how much cooler they look. It is at this point that you toss one or two of your dough rings into the boiling water, and find out if they are a witch or not. Let them float for 30 seconds, then flip them over so they can boil another 30 seconds. After all that, they will still be rather soft, so try lifting them out of the water with a nice spatula. Once they have drained a little, slide them into the bowl of egg white. I like to coat the entire thing, but it’s fine if you only want to egg the top of your bagel-to-be. Either way, toss that sucker onto a greased pan.
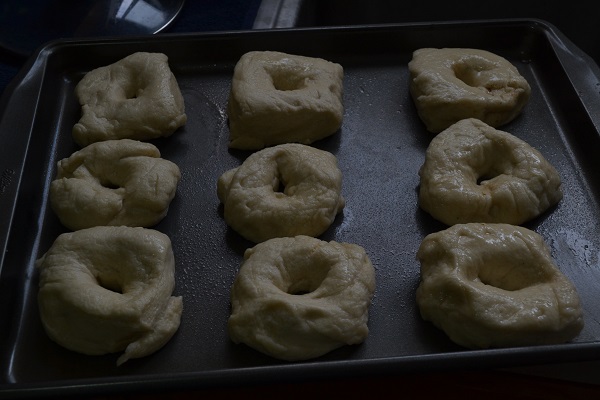
Now is a great time to put toppings on the bagels. Cheese, poppy seed, sesame seed, garlic, salt, the list goes on. Then throw your creations into the fires of tribulation for 20 to 25 minutes. They should look like a nice golden brown when they’re done.

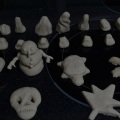
It’s like a tray full of bellybuttons.
ASK NOT FOR WHOM THE BEEF THAWS, IT THAWS FOR YOU
Get out your note taking pens, this one is a doozy.
- 1 or 2 lbs. ground beef
- Some oil?
- Black pepper, aw yeah
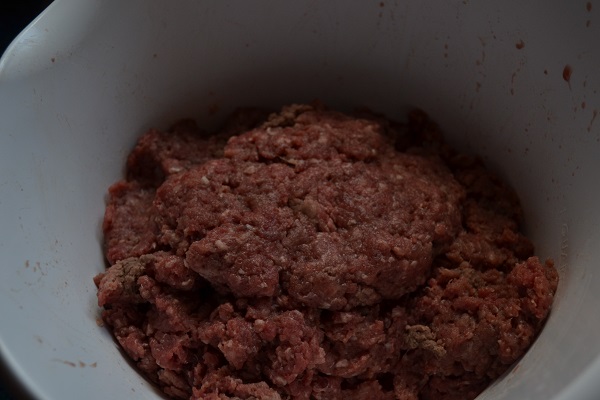
For hamburgers, 1 lb of ground beef equals about four patties. Toss it in a bowl, and mash it up with your hand. It will feel gross and oily and slimy, and try not to think about how brains must feel, but this is the best way to break up the wiggly form of the beef. You can give the meat a bit more bulk with say, the egg yolk from before, and/or some bread crumbs. Make your patties about ¾ of an inch thick, and about as big as the palm of your hand. You will want the middle to be thinner than the outside, because that is where the most swelling happens.
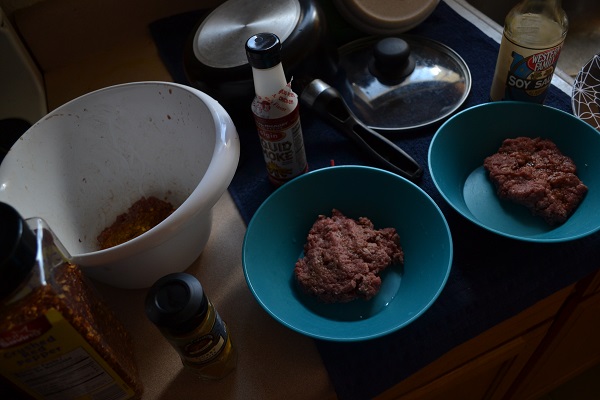
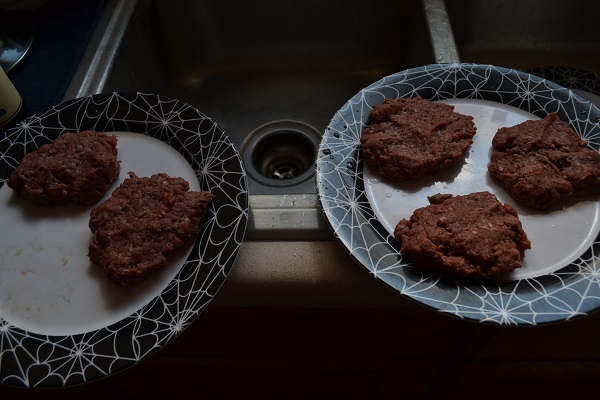
Why are some patties on their own? Because I live for experimentation, and the world will bow before the curry burger. Seriously though, it takes a fair bit of curry powder to get through the beef flavor. I also have a smoke sauce patty and a soy sauce patty, which I have yet to eat. Or have I? It’s hard to tell.
Now get your least favorite or most cast iron pan, and put a thin layer of vegetable oil on the bottom. Turn on the burner to high heat, so on a scale from 1 to 10, maybe a 6 or a 7. The oil will shimmer when it’s hot and ready.
Now a word of warning: There will be beef fumes. Open a window. Open several windows. Curse the winter air with the fury of a destitute farmer.
When you plop the patty onto the pan, there will be oil flying around a fair bit, so be careful. Let it cook on one side for about 3 minutes, then flip it over for another 3 minutes. It should look like this:
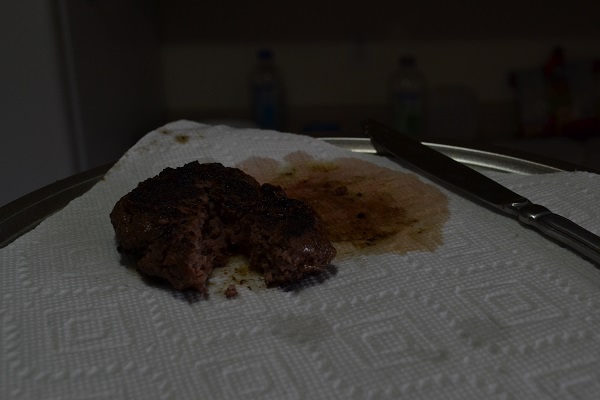
Cooked through, if a little dark on the top and bottom. It shouldn’t actually taste burnt where it is darkest, rest assured. You may need to replenish the oil in the pan once or twice, depending on how much you cook.
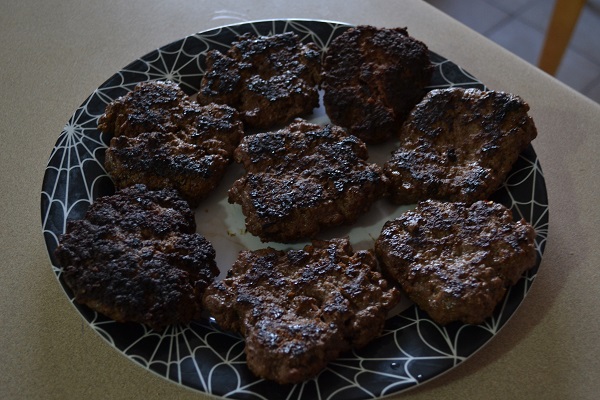
MEAT. That’s 2 lbs of beef into 8 patties, and 9 bagels you may have also made. In the classic tradition of grilling and meat holders, you can never have the same number of meats and buns. Nevertheless, the bagel burger is quite delicious and filling, and it is my gift to you. You may want to share it with anyone who lives in the same house/apartment, the beef smell is everywhere.
Have I inspired you? Do you also have a terrible habit of wasting food? I would be very interested to see if others have followed in my rambling footsteps, so if you have made something inspired by one of my articles, take a picture and send it to [email protected]. Label it: Crafts for Brandon. If you do, that picture will be at the end of my next article, with your name attached. If you made something beyond the fantastic scope of my chronicle, you might consider writing a guest article and sending it to that same email address to be considered as a guest post. It is always inspiring to see what art you may see in the mundane.
Brandon is originally from Olmsted Falls, Ohio. He has studied both at Baldwin Wallace college and Brigham Young University, and is currently pursuing Chemical Engineering, among other things. He considers himself a jack of all trades, and a master of none. In his spare time, Brandon enjoys knitting, guitar, reading, origami, writing, and photography.