Within each of us, there is a child-like wonder at the forces of the world. What energies are unlocked by fire? What unseen hand gathers metals to magnets? How can a stick be held up by a single spot? It is this last one that I shall seek to inspire once again in you, my dear reader.
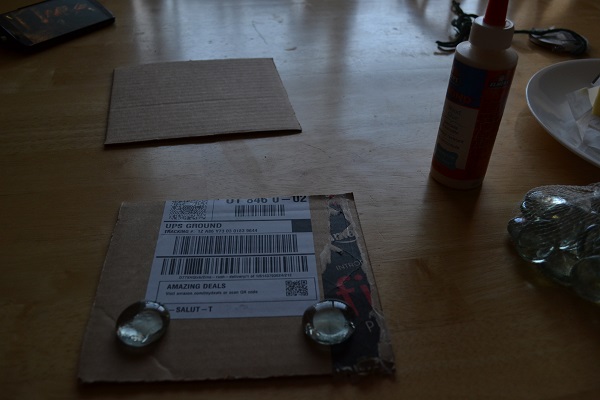
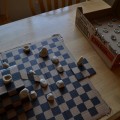
Cardboard, glue, and two glass gems you may remember from the board games article. For this to work, you need to glue the gems to the cardboard near one of the edges, but be sure to give yourself a bit of room around them.
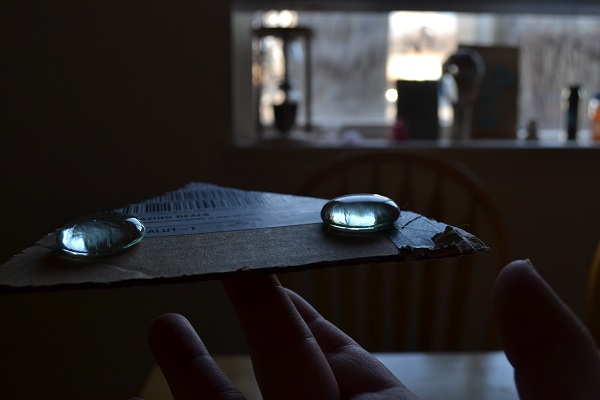
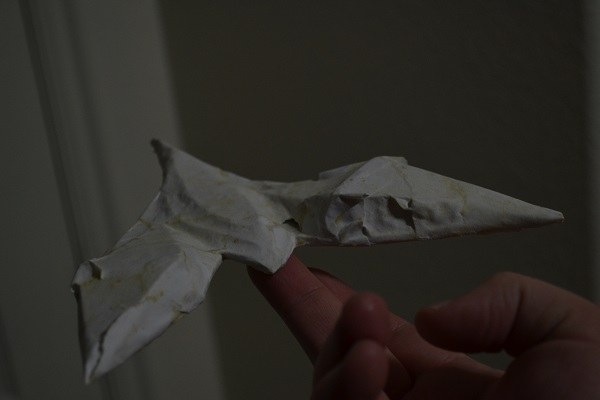
Cut away the corners, giving yourself the tail end of a tear-drop shape. That way it looks more bird-like. Then find the center of balance by trial and error, and mark it somehow. This can be a little difficult, since writing exerts a certain amount of pressure, which will make the whole thing tilt and probably fall if you aren’t careful. It is at the time of taking this picture that I developed empathy for all the left-handed photographers. As you can see, my right hand is occupied, and my camera really wasn’t meant to be operated in a sinister fashion.
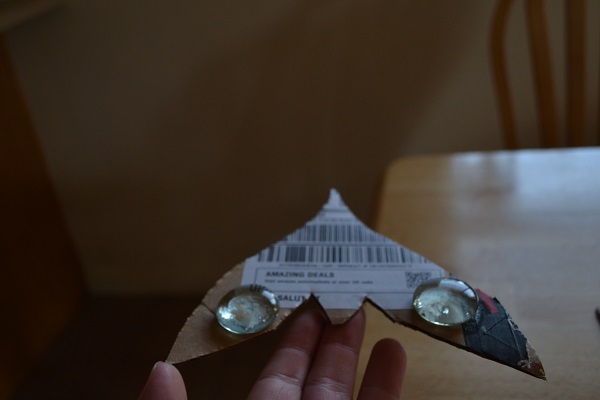
Remember that center of balance? That is now the bird’s beak. Cut away the front edge to get that wing shape that is so very important to the illusion of the thing. Having said that, be careful that you don’t cut too deep into the heart of the cardboard, or you may very well end up with a center of balance that is not part of the thing itself.
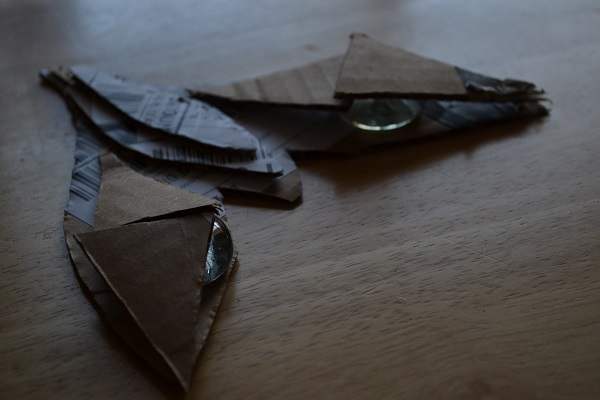
I hope you saved those cardboard scraps from earlier, because now we are getting topographical. This is also when you can learn from my mistake. As you can see, the wings are pretty lumpy on this side, which makes the trick to the balancing bird a bit obvious. What you can do is to glue the pieces over the wings as you see in the picture, wait for them to dry, then flip the entire thing over and glue the body pieces on the other side. This way the wings will look like they are being swept low, as opposed to arched high. Once this is done, it still looks rather angular and obviously cobbled together. The solution?
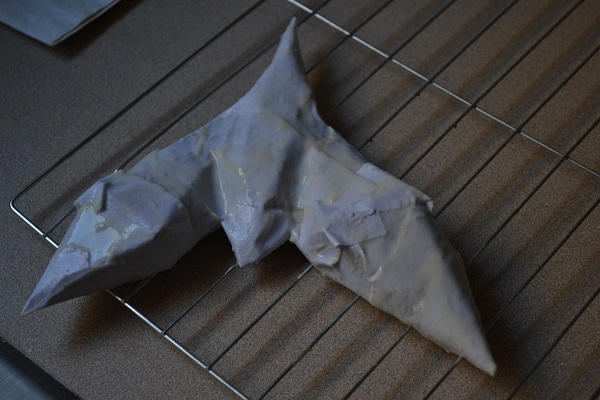
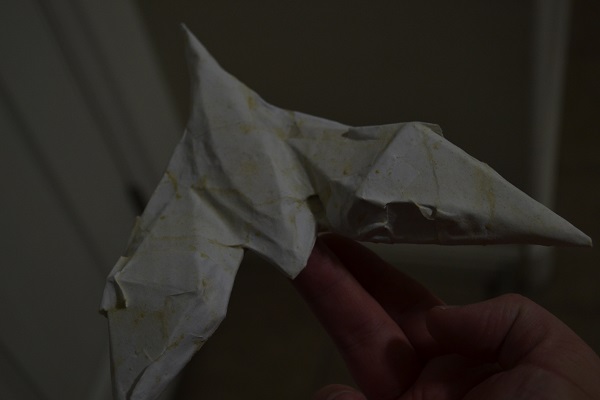
Waste food. Yes, that is some printer paper torn up and dipped in a flour-water solution we all know and love as paper mache. It doesn’t take much; I mixed up the stuff in a cereal bowl. Once you have your bird smoothed out, keep in mind that the flour will dry yellow on the paper. If that bothers you, feel free to paint that bird with all the colors of the wind, or your acrylic bottles.
That’s how it looks when it’s dried. You are now ready to entertain nearly anyone for the entirety of their child-like attention span, which is to say ten minutes at the most. After the novelty wears off, make a game of perching the bird in odd places. Alternatively, if you paint it really well, you can glue it to a hummingbird feeder as a decoy. Fly on over, the sugar-water’s fine.
To read more of Brandon’s articles, click the image.
Have I inspired you? Do you also have a terrible habit of wasting food? I would be very interested to see if others have followed in my rambling footsteps, so if you have made something inspired by one of my articles, take a picture and send it to [email protected]. Label it: Crafts for Brandon. If you do, that picture will be at the end of my next article, with your name attached. If you made something beyond the fantastic scope of my chronicle, you might consider writing a guest article and sending it to that same email address to be considered as a guest post. It is always inspiring to see what art you may see in the mundane.
Brandon is originally from Olmsted Falls, Ohio. He has studied both at Baldwin Wallace college and Brigham Young University, and is currently pursuing Chemical Engineering, among other things. He considers himself a jack of all trades, and a master of none. In his spare time, Brandon enjoys knitting, guitar, reading, origami, writing, and photography.